This video shows the technique used to treat the double chin with Hot Sculpting.
STEP BY STEP PROTOCOL
01
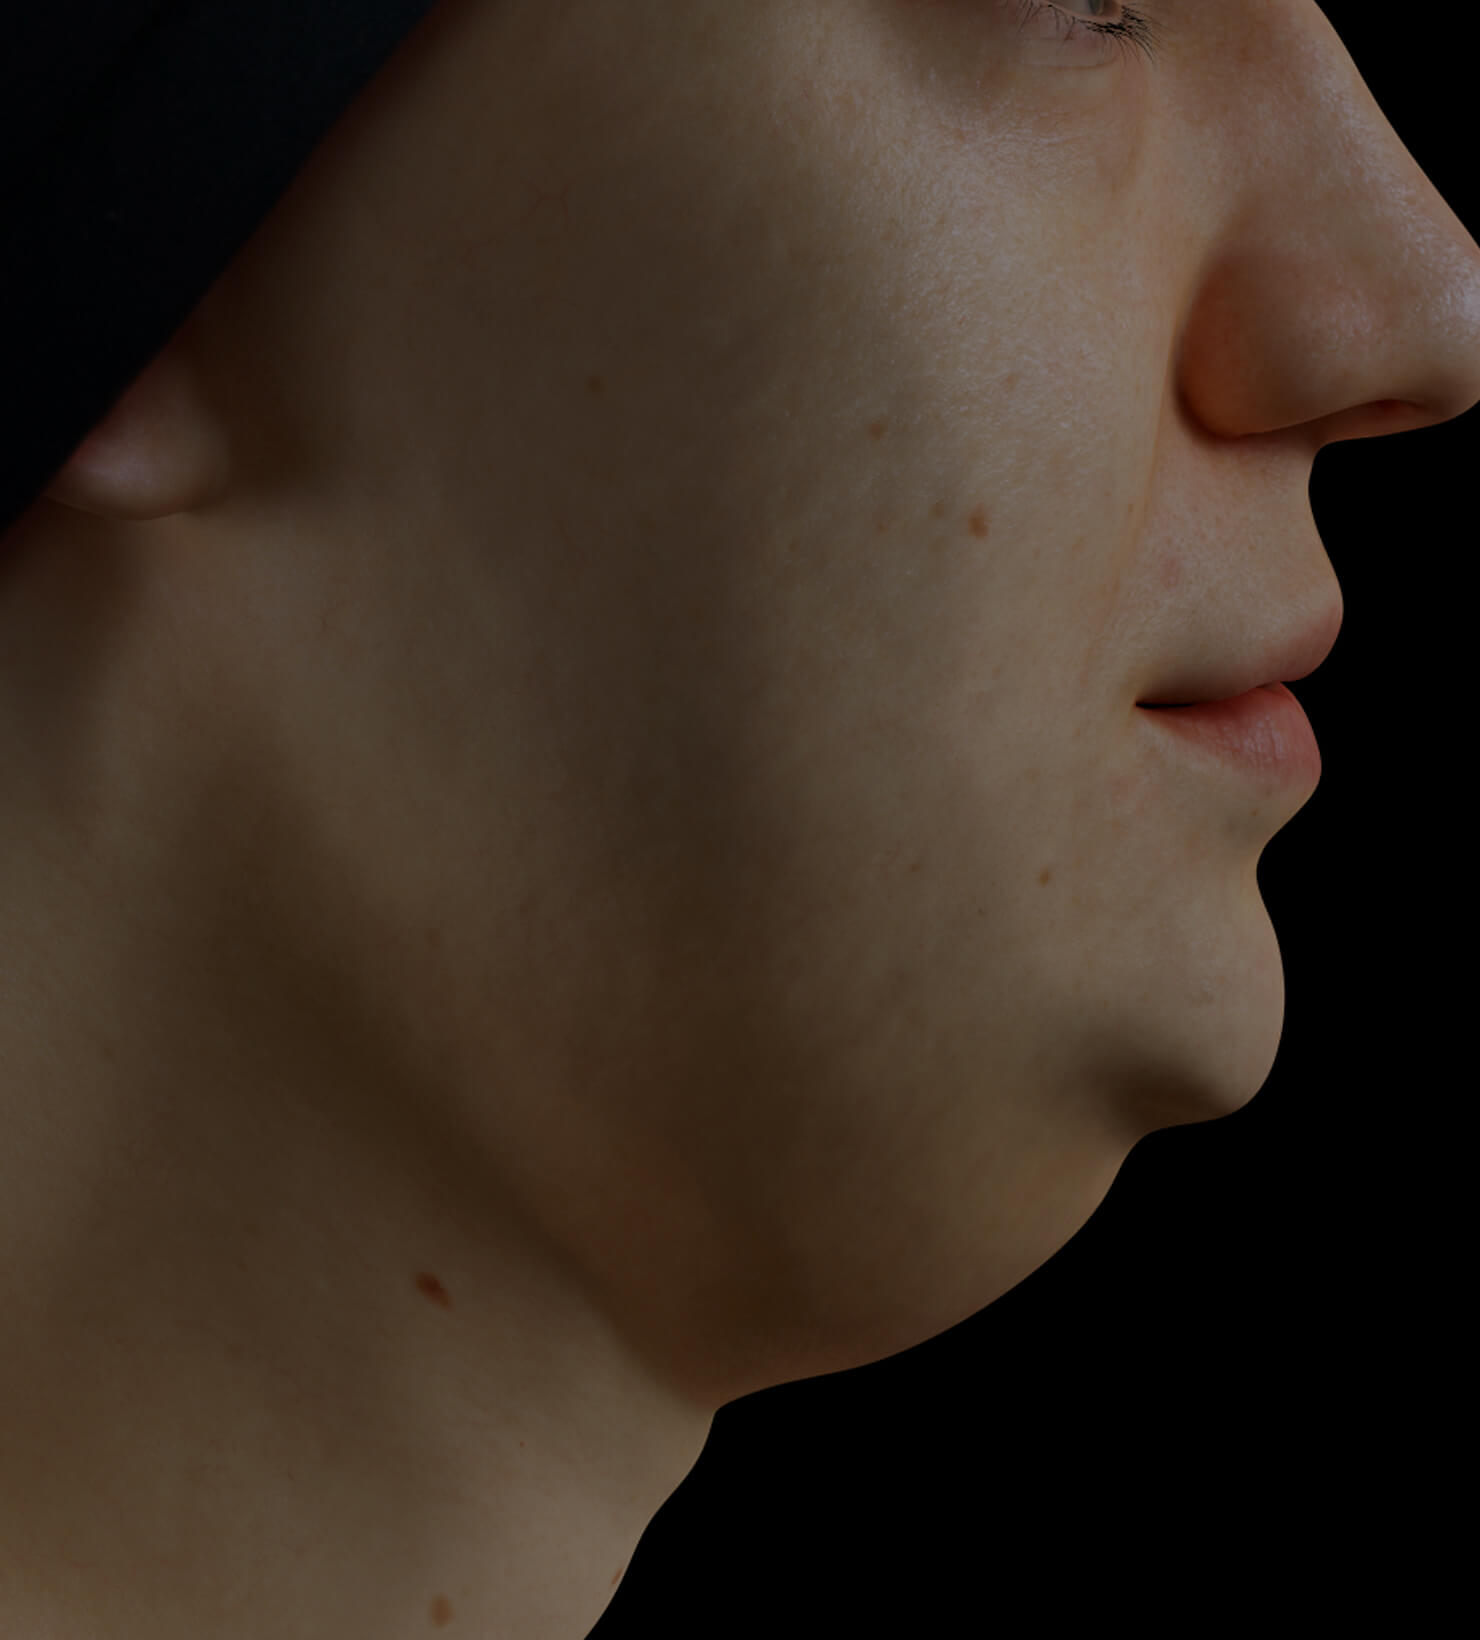
DELINEATION OF THE AREA TO BE TREATED
Following your first consultation where pictures and measurements are taken, your treating professional will create your personalized treatment plan. The Hot Sculpting session will begin with the delineation of the region to be treated using an erasable pencil, generally a 4 inch by 6 inch area under the chin.
02
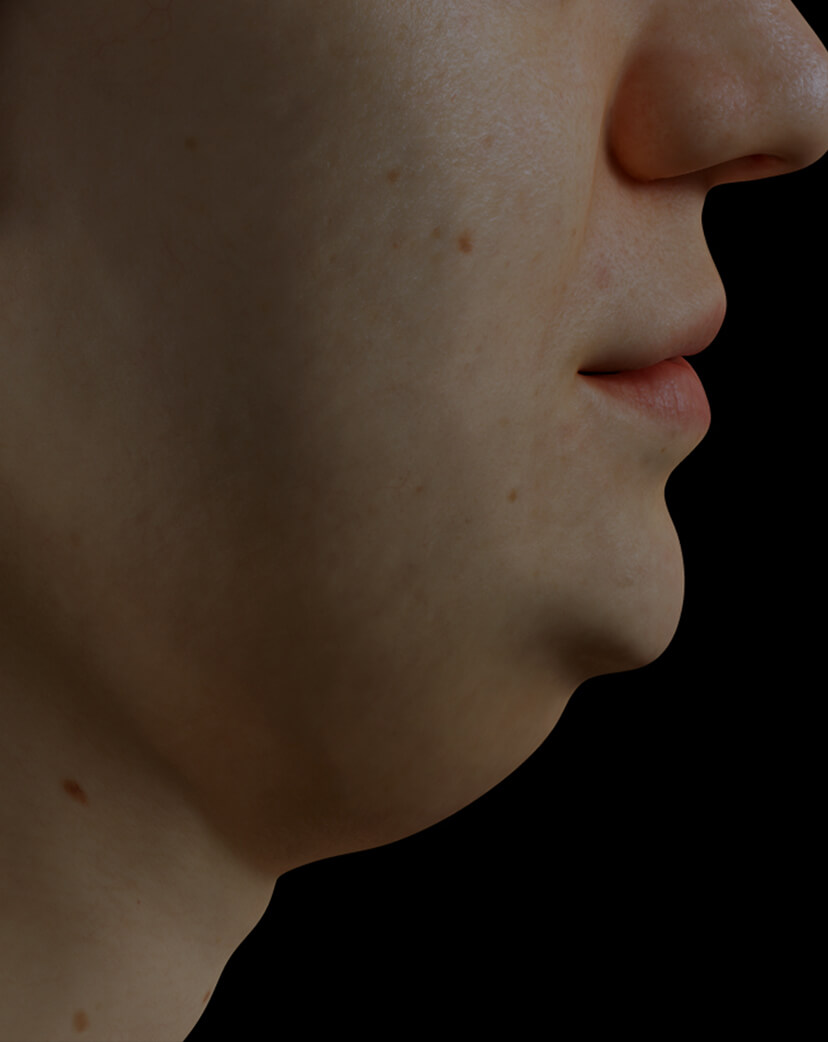
START OF THE LASER PROTOCOL WITH ND:YAG
The treatment aiming to melt fat and stimulate collagen production will be carried out using an Nd: YAG laser. Based on your initial assessment, your treating professional will adjust the time allotted to this step, depending on the desired results. When the temperature of 42 degrees Celcius will be evenly reached, a cool wind will be sent over the treatment area to calm the sensation of heat on the surface, allowing the laser to heat more deeply. This sensation of fresh air on the surface of the skin makes the treatment very comfortable.
03
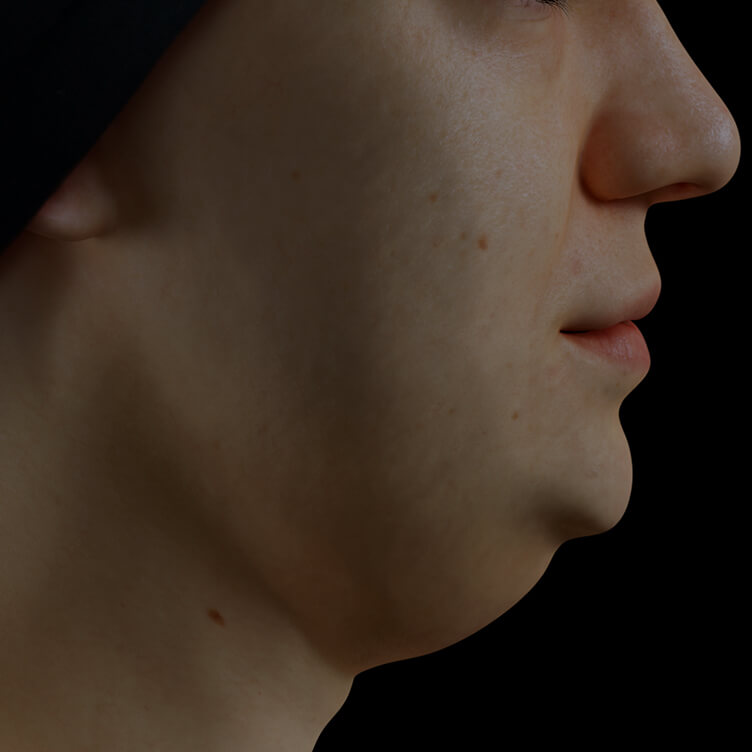
2ND LASER MODE WITH ER:YAG
The second step of this treatment will be performed with the Er:YAG laser. The properties of this laser allow it to treat sagging skin. You will therefore benefit from an improvement in your skin's quality in parallel with the loss of fat. As for the first type of laser, the time allocated to this step will be established in advance with your professional to obtain the results specific to your needs.
04
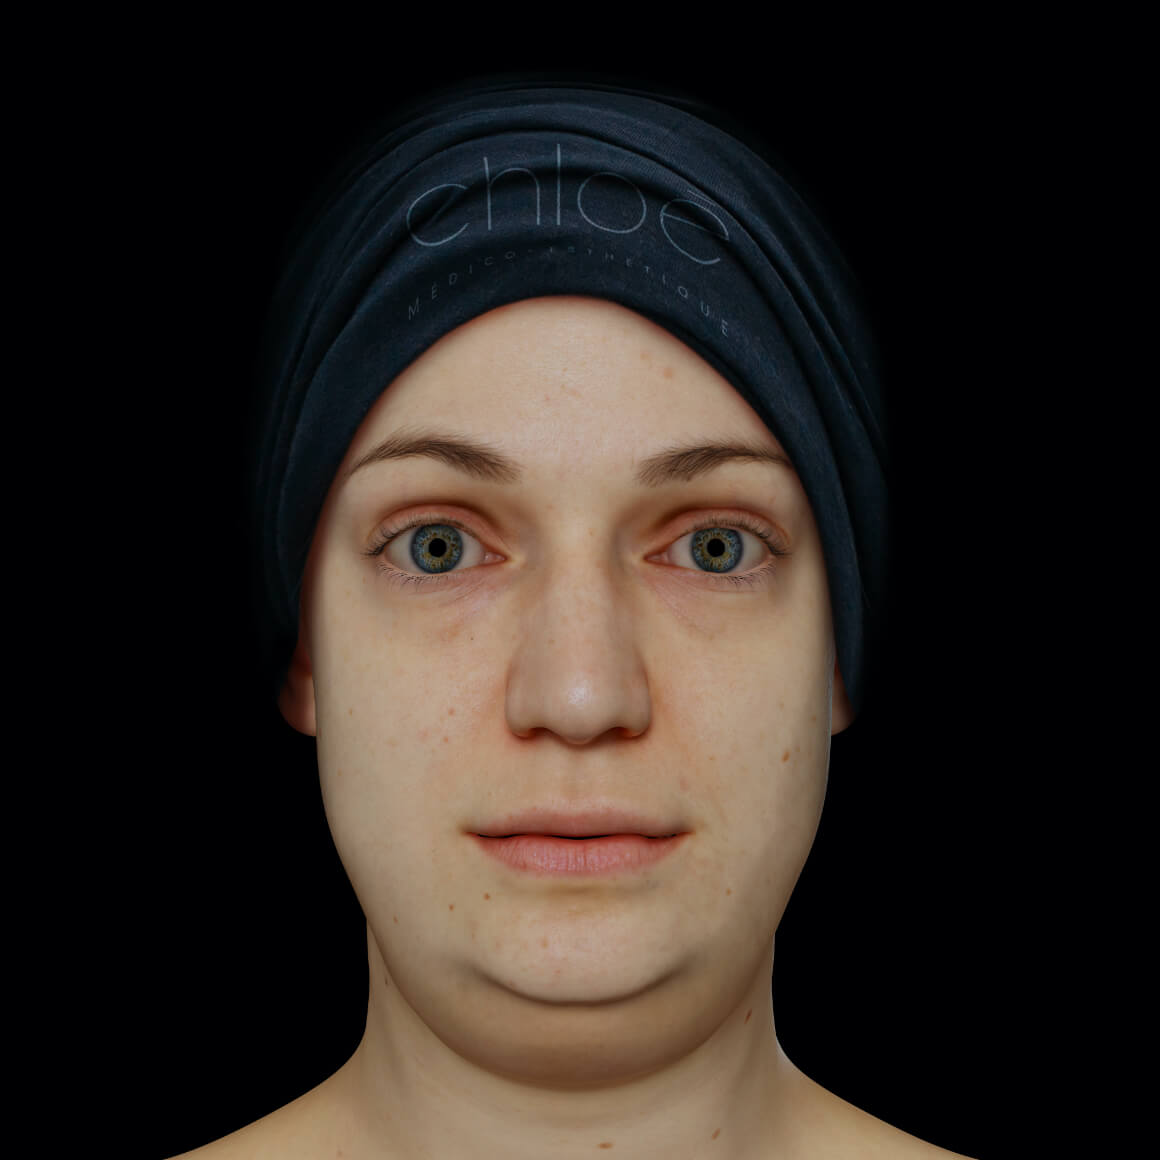
POST-TREATMENT INSTRUCTIONS
Before leaving, your professional will explain the post-treatment instructions and give you a written copy to take home. In order to achieve the desired results, your professional will suggest a number of treatments at a specific interval. We will advise you to make your next appointment in advance to be able to book the time slot that suits you best. A follow-up appointment will also be set about three months after your last treatment to compare your before and after results.