This video shows the technique used to treat melasma with microneedling.
STEP BY STEP PROTOCOL
01
ASSESSMENT AND TOPICAL ANESTHESIA
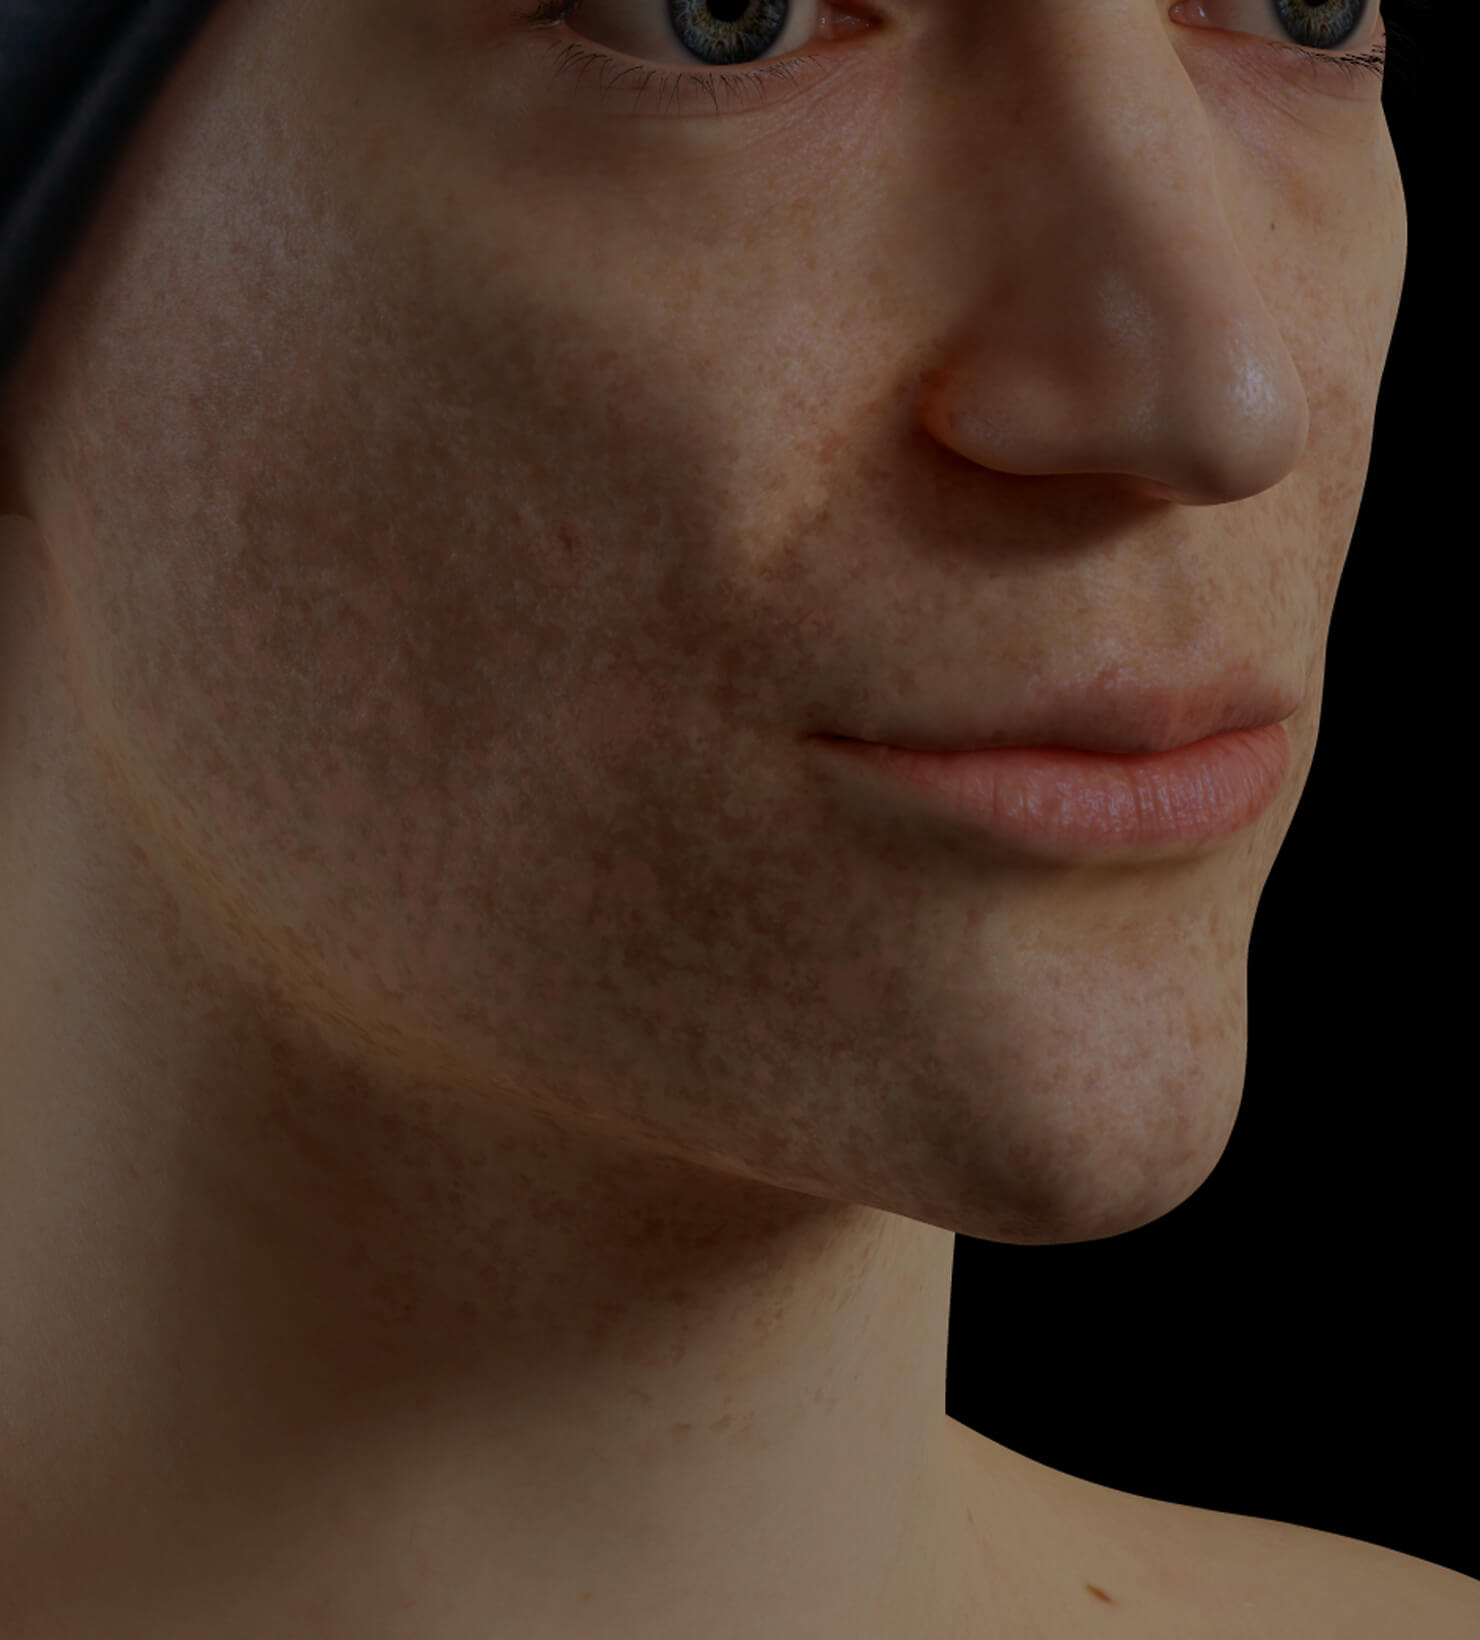
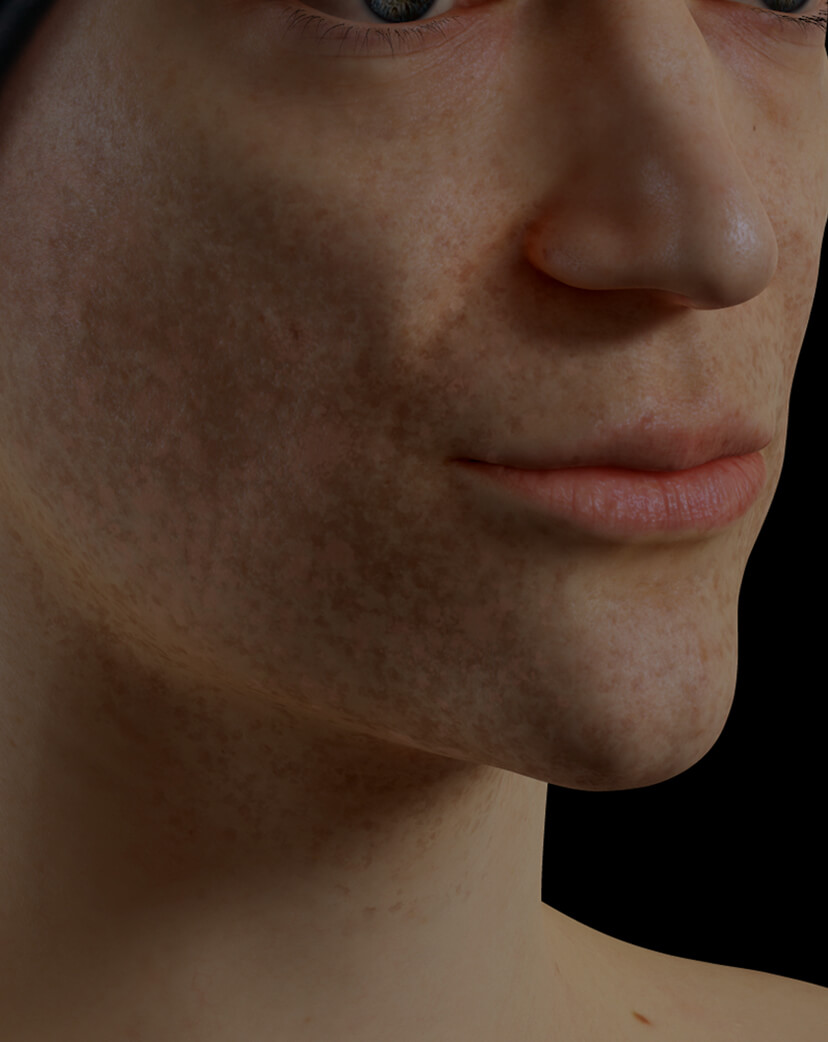
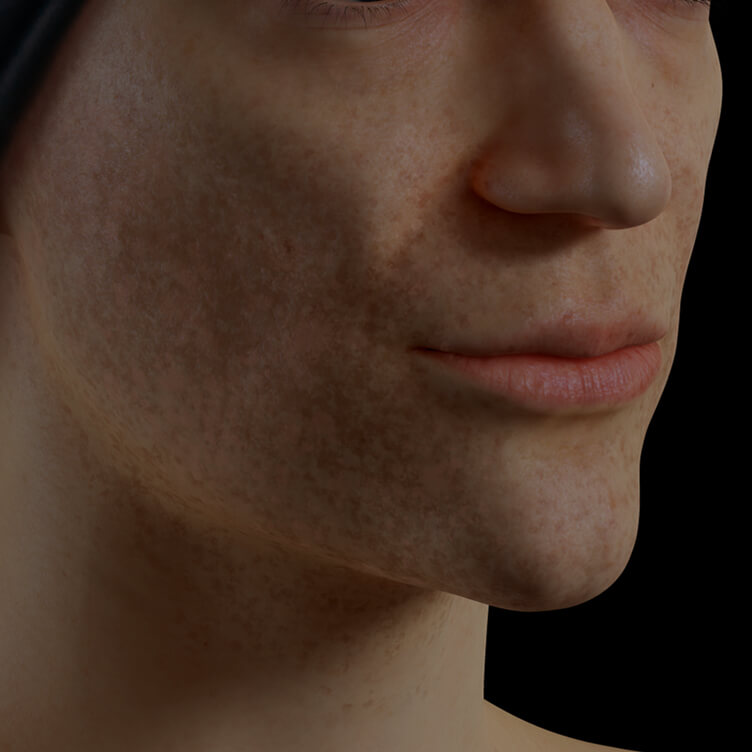
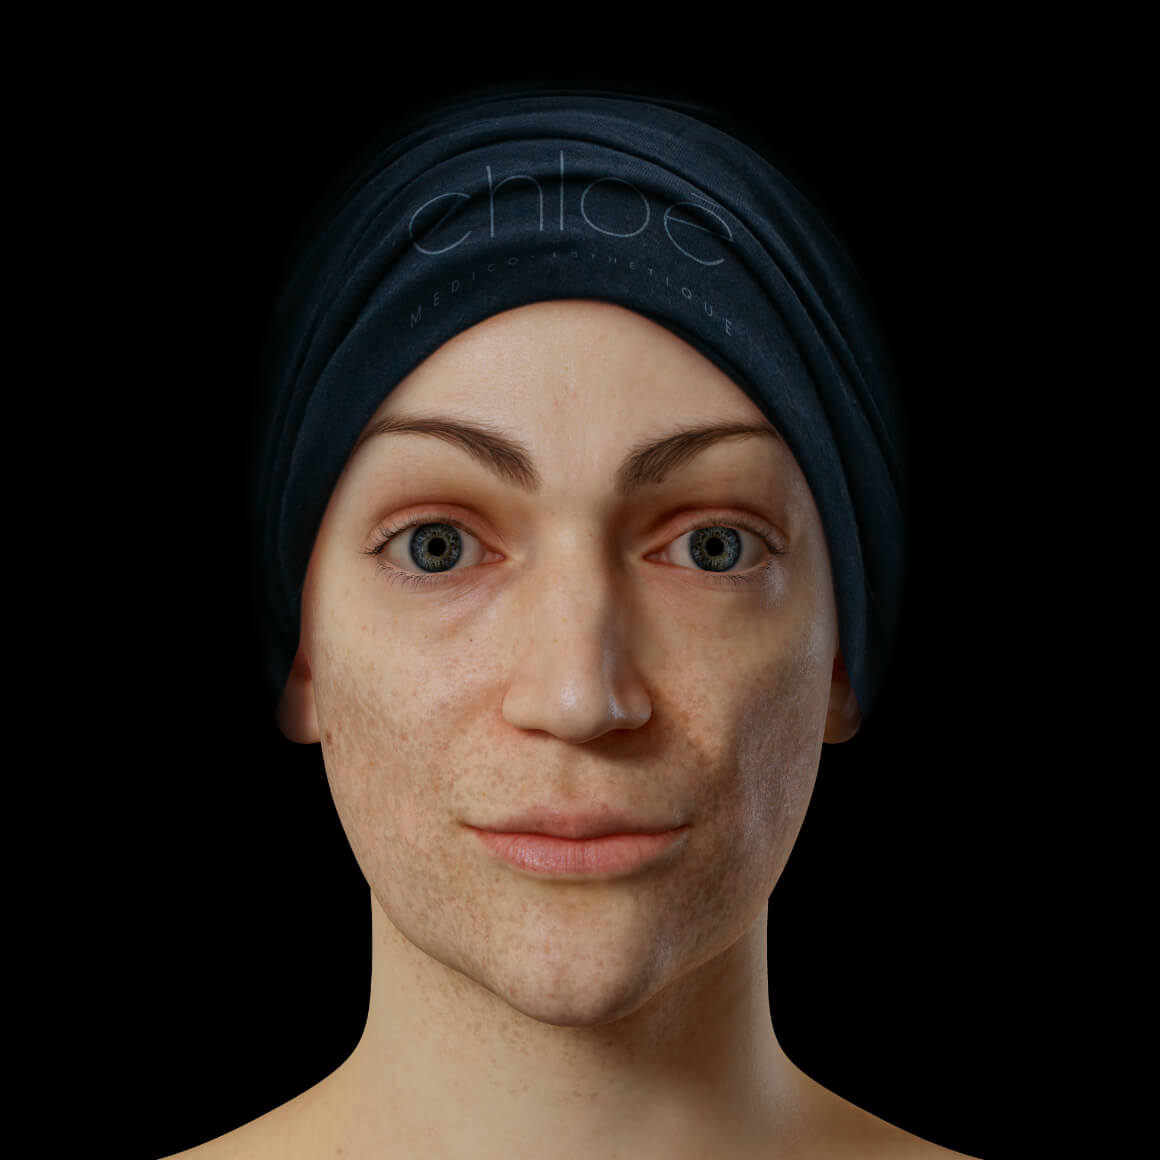
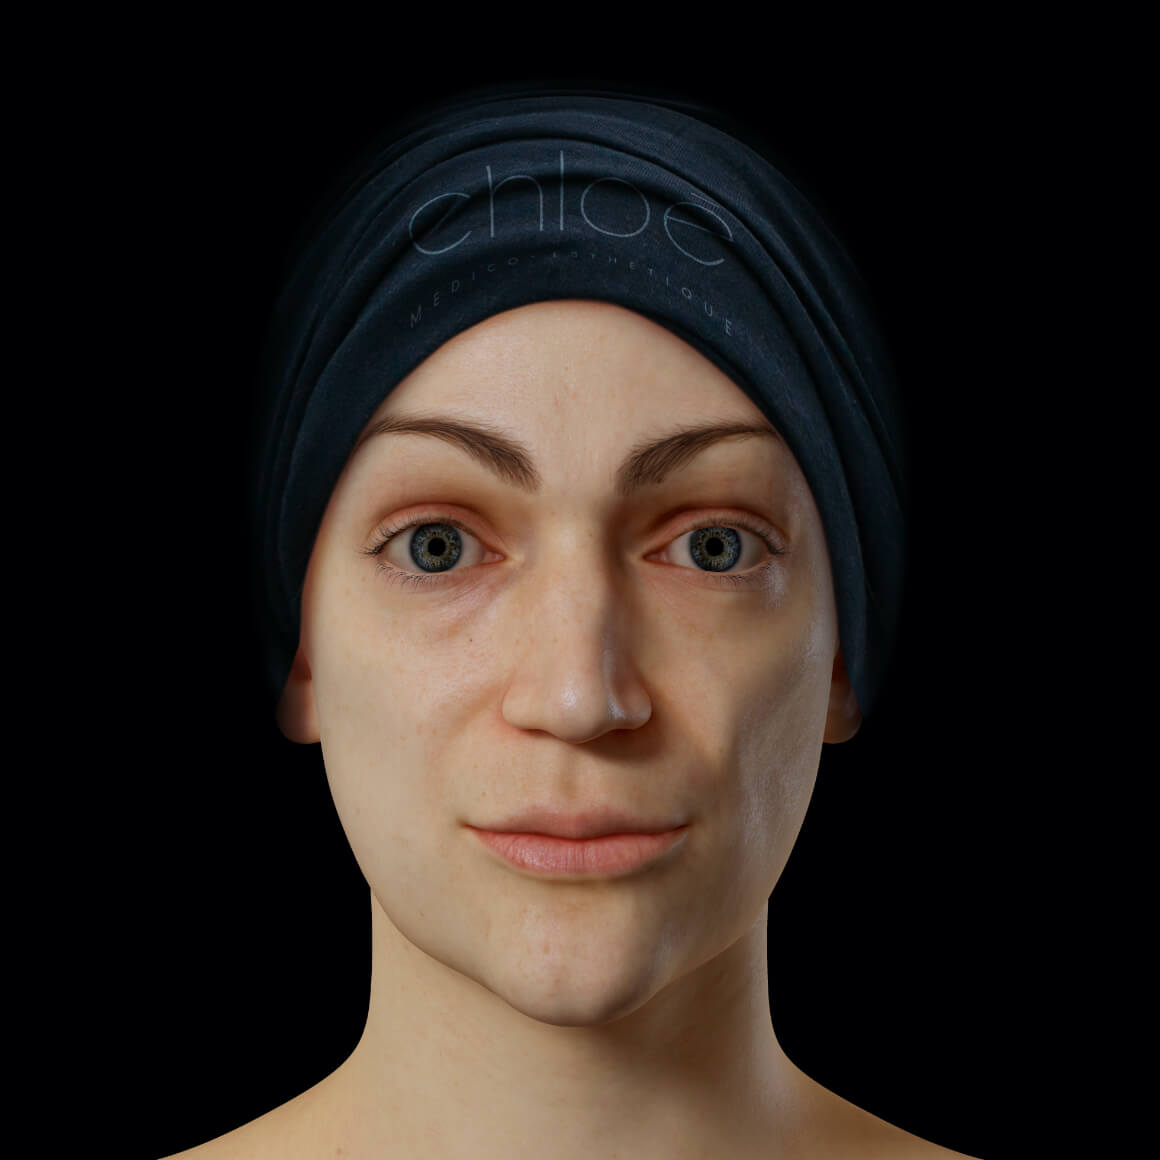
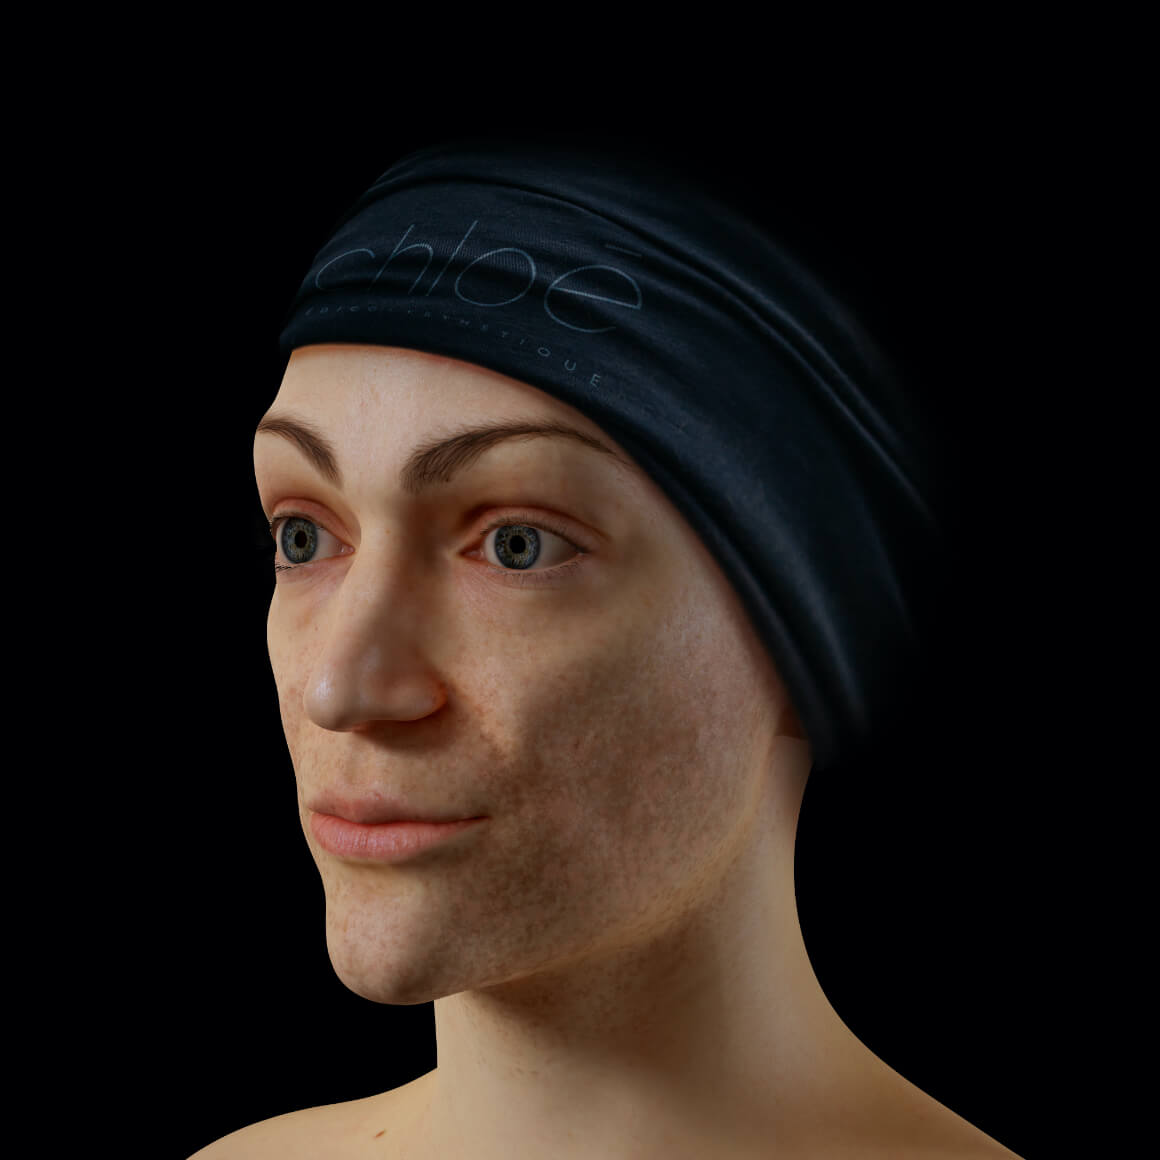
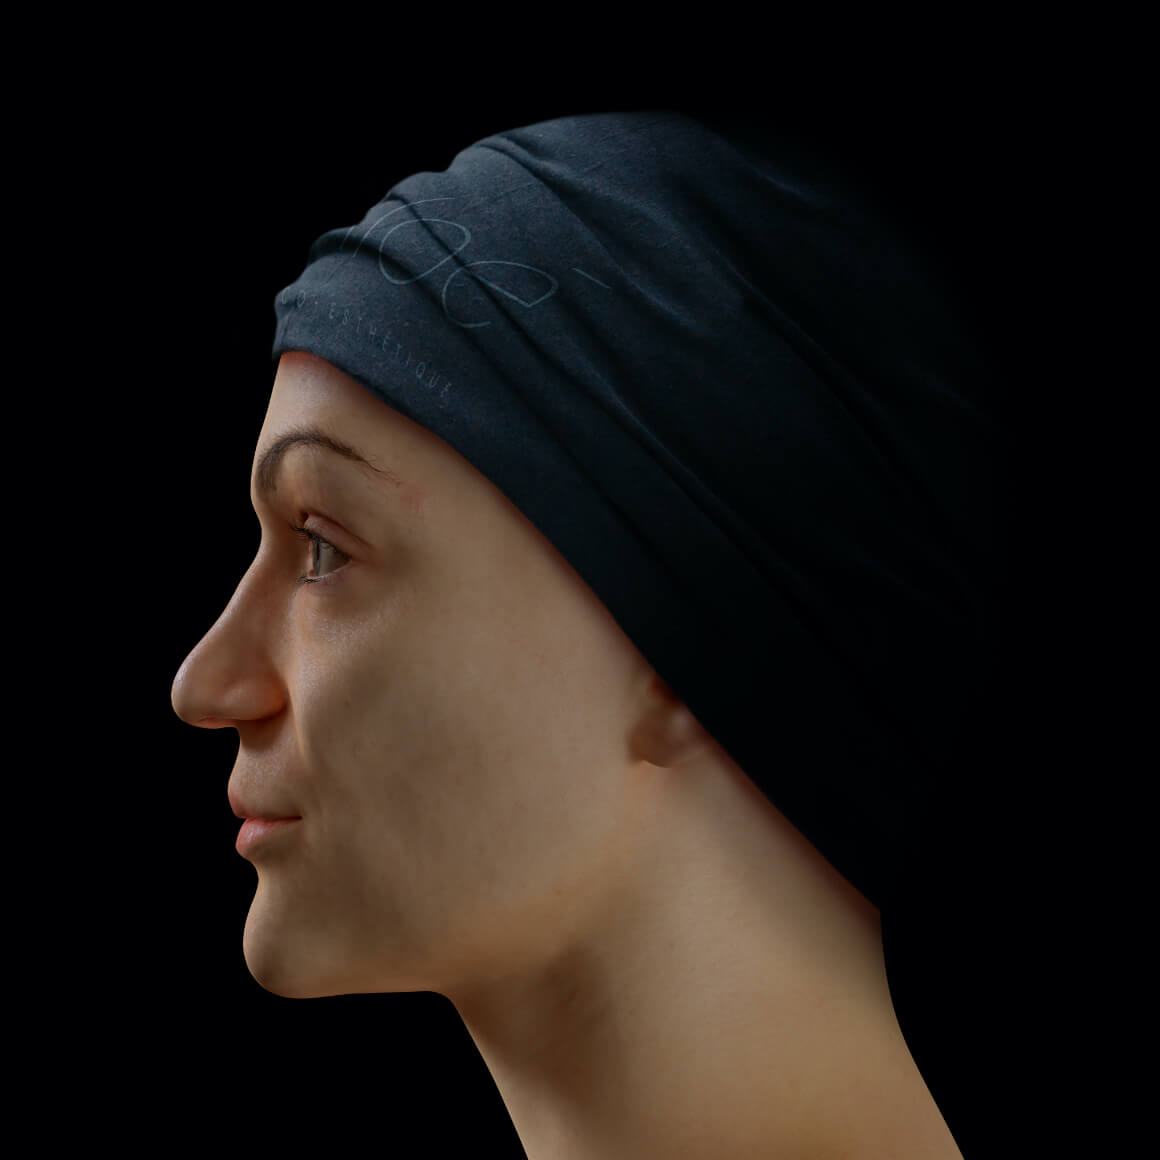
After reviewing your medical questionnaire, your treating professional will conduct your full assessment, starting with pictures taken from different angles and visual analysis. Your face will need to be thoroughly cleansed to facilitate the assessment. You will need to apply numbing cream an hour before your treatment to make the treatment more comfortable. Depending on the severity of your melasma, your treating professional will determine the type of roller that should be used and the number of passes needed.
02
PREPARATION
After allowing time for the anesthetic cream to take effect, your professional will clean and disinfect the area to be treated using compresses and an alcohol solution. This will remove all impurities and sebum to prevent infection and also facilitate the microneedling treatment.
03
MICRONEEDLING TREATMENT
A roller fitted with multiple small gauge needles will be used for your treatment. The length of the needles that should be used will be determined by your treating professional according to the assessment of your skin. The treating professional will roll the dermaroller on your face in order to create micro-perforations. You will benefit from better oxygenation of the skin and stimulation of collagen in the dermis. The treatment will be quick and tolerable.
04
SKIN PRODUCT APPLICATION AND POST-TREATMENT INSTRUCTIONS
The treating professional will apply a serum followed by a natural oil with skin regenerating properties. These are products composed of vitamins and minerals, which will be better absorbed due to the micro-perforations. Your professional will explain the post-treatment care and give you a written copy. You will need at least 3 treatments to get optimal results.