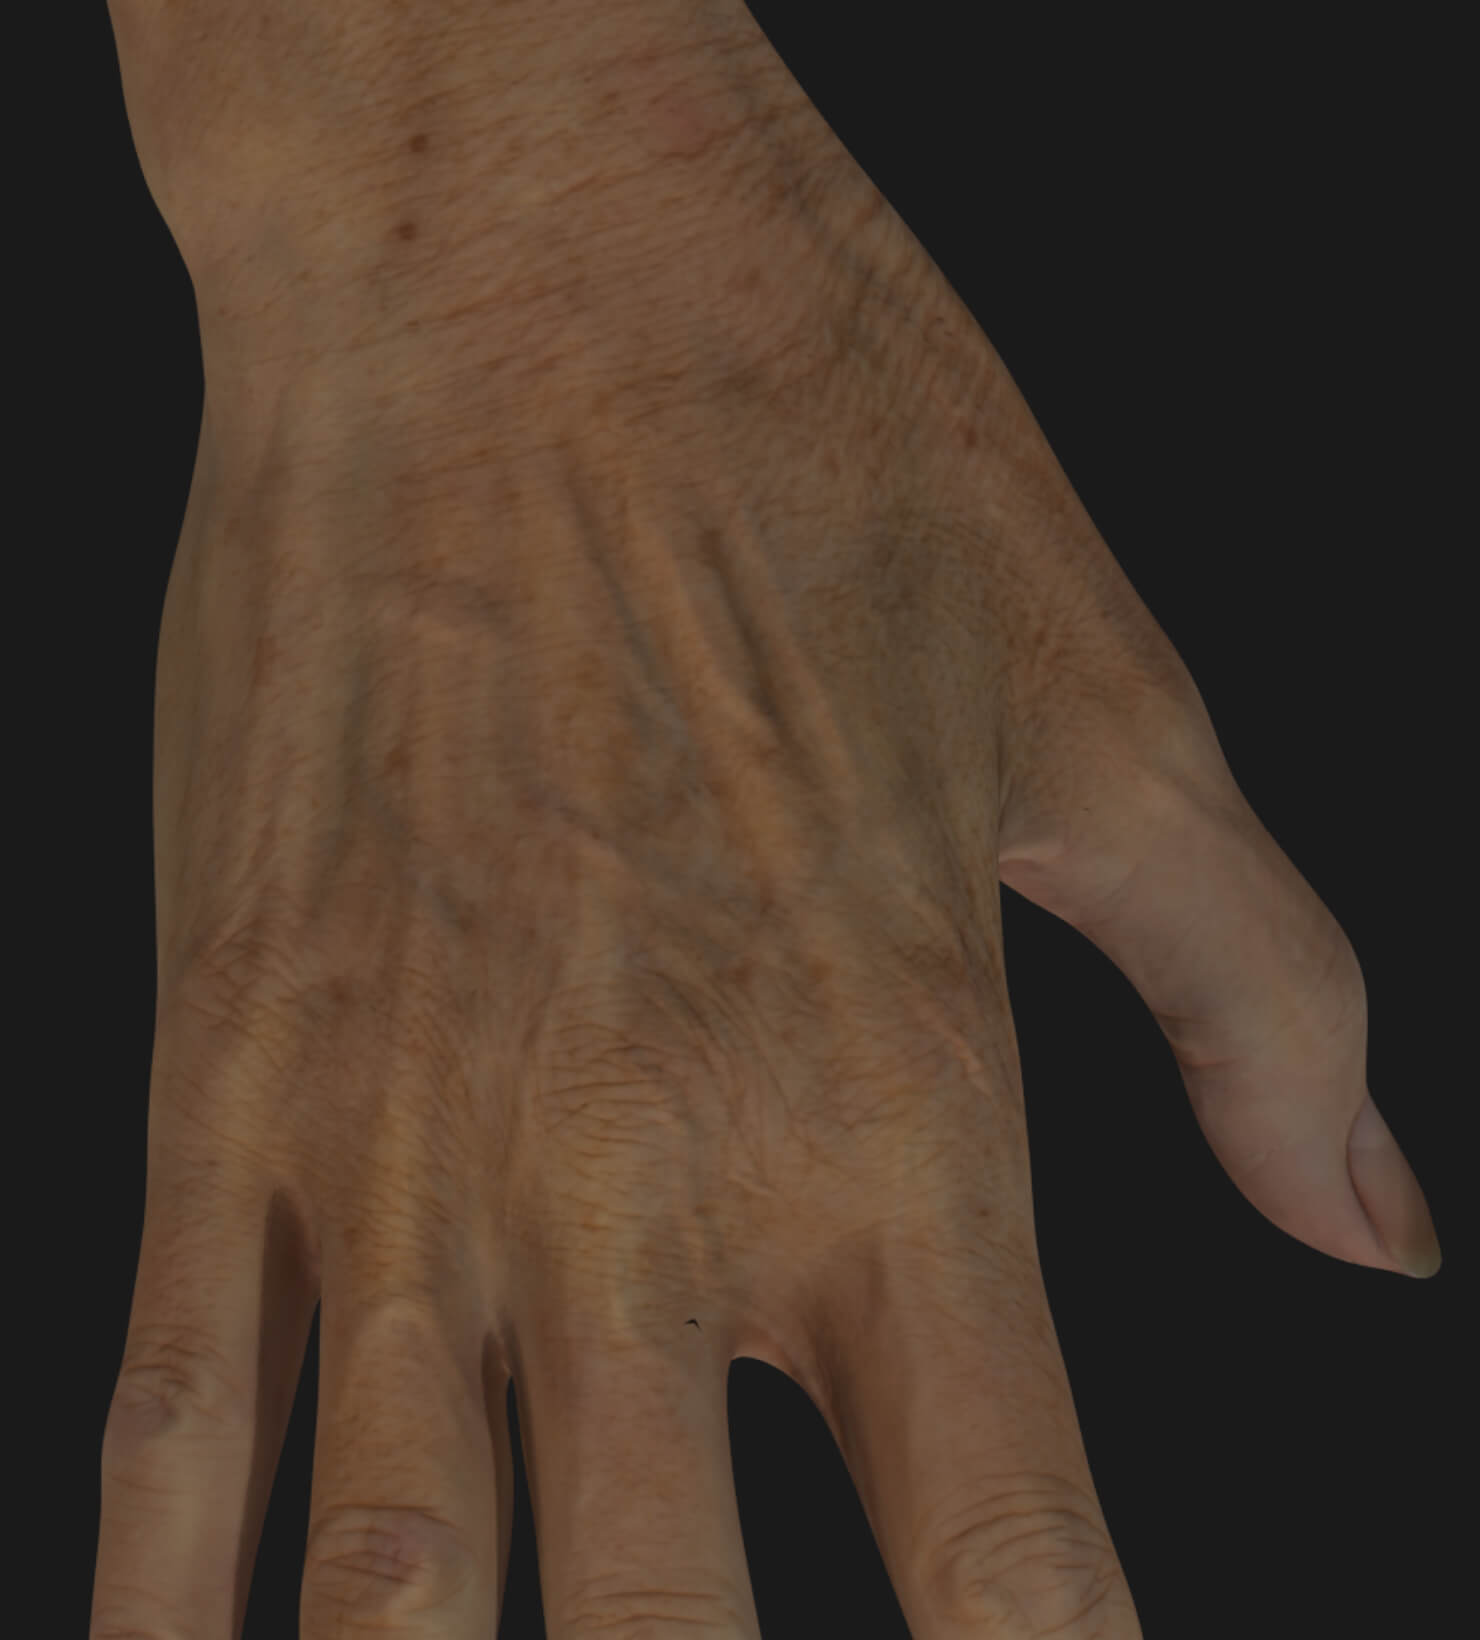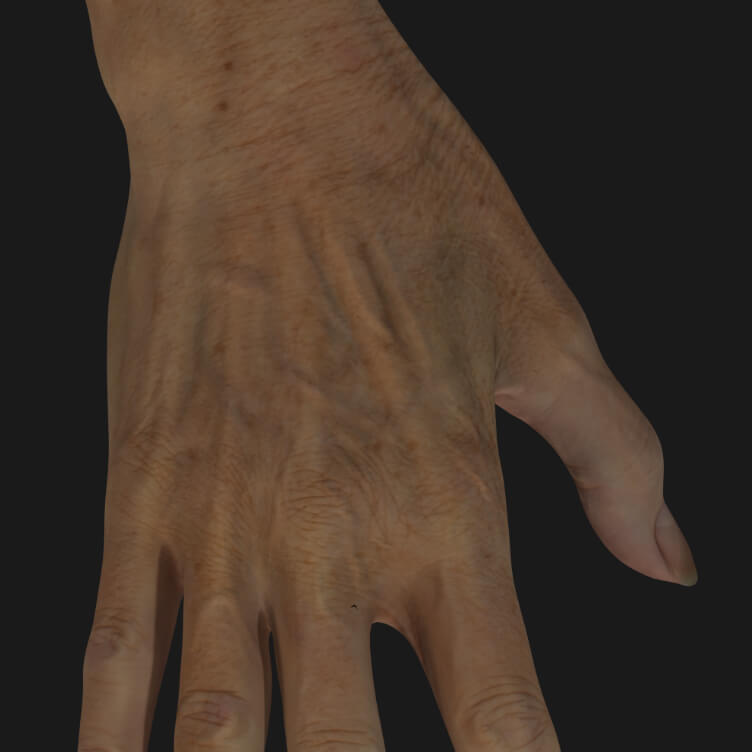
This video shows the technique used to treat hands with platelet-rich plasma.
STEP BY STEP PROTOCOL
01
EVALUATION AND PREPARATION
After reviewing your medical questionnaire, your treating professional will conduct a complete assessment, starting with taking pictures from different angles and a visual analysis. Your hands will be prepared by disinfecting them with compresses and an alcohol solution. This will eliminate all impurities and sebum to promote better penetration of the PRP.
02
BLOOD SAMPLE
The professional will take a blood sample, usually from a vein located in the elbow crease. It is essential to be well hydrated in order to facilitate this step. Next, the collection tube will be installed in the centrifuge and then, in just a few minutes, the platelet-rich plasma will be separated from the rest of the blood components and be ready for your treatment.
03
PLATELET-RICH PLASMA INJECTIONS
The syringe containing your PRP will then be installed on the injection gun. The depth and pressure to push the PRP out of the syringe will then be adjusted. The professional will do as many injections as possible on the area to be treated in order to obtain the best results. The more perforations there are, the better the collagen stimulation and therefore, the results. Don't worry; the procedure will be very tolerable and does not require any local anesthesia.
04
MOISTURIZING CREAM APPLICATION AND POST-TREATMENT INSTRUCTIONS
The session will end by letting the PRP dry for a few minutes, then applying a moisturizer with sun protection. Your professional will suggest a number of treatments at specific intervals. Therefore, we will advise you to book your next appointment in advance to have the time slot that suits you best.